From Zero to Record: A Beginner’s Guide to Starting with Pro Tools
Pro Tools. The name itself carries weight. For decades, it’s been the undisputed industry standard in professional recording studios, used on countless hit records and blockbuster films. But with that reputation comes another: that it’s complicated, intimidating, and has a learning curve as steep as a mountain.
Here’s the good news: it doesn’t have to be.
While Pro Tools is incredibly deep, getting started and recording your first ideas is more straightforward than you think. This guide will walk you through the absolute essentials—from launching the software for the first time to exporting your very first track.
Let’s demystify the beast and get you making music.
Step 1: Before You Launch – The Setup
This is the most crucial step, and getting it right will save you hours of headaches.
- Get the Software: Avid offers several versions of Pro Tools. https://www.avid.com/pro-tools
- Pro Tools Intro: A completely free version with some limitations, but perfect for getting your feet wet.
- Pro Tools Artist: A great, affordable subscription for musicians and songwriters.
- Pro Tools Studio & Ultimate: The more powerful, professional-tier versions.
- Educational Pricing: Discounts for teachers and students are avialable at avid.com
For this guide, Intro or Artist is all you need.
- Install Your Audio Interface: An audio interface is the box that connects your microphones and instruments to your computer. You need one. It provides much higher quality sound and lower latency (delay) than your computer’s built-in sound card. Install the drivers for your interface before you open Pro Tools for the first time.
- Set Up Your iLok: Pro Tools uses an iLok for license management. You can use a physical USB iLok or the free iLok Cloud. For beginners, the iLok Cloud is the easiest option. Just make sure you have a stable internet connection.
Step 2: Your First Session – The Grand Opening
The first time you open Pro Tools, it will ask you to set up your audio hardware.
- The Playback Engine: A window will pop up. This is where you tell Pro Tools what hardware to use for sound. In the dropdown menu, select your audio interface. This is non-negotiable! If you leave it on your computer’s default output, you won’t be able to record. Click OK.
- The Dashboard: Now you’ll see the Dashboard. This is where you create new projects.
- Click the “Create” tab.
- Give your session a Name. Be specific! “My First Song Idea” is better than “Untitled.”
- Set Your Parameters:
- File Type: Set to WAV. It’s the uncompressed, high-quality standard.
- Sample Rate: 44.1 kHz or 48 kHz is perfect. Think of this as the “frames per second” for your audio. 44.1 is CD quality.
- Bit Depth: Choose 24-bit. This gives you more dynamic range (headroom) and is the modern standard for recording.
- I/O Settings: “Stereo Mix” or “Last Used” is fine for now.
- Location: Do not save to your desktop! Create a dedicated folder on a fast hard drive (an external SSD is ideal) for all your Pro Tools sessions.
- Click “Create.”
Step 3: Finding Your Way Around – The Two Main Windows
Pro Tools has two primary windows you’ll live in. You can toggle between them with the shortcut Command + = (Mac) or Ctrl + = (Windows).
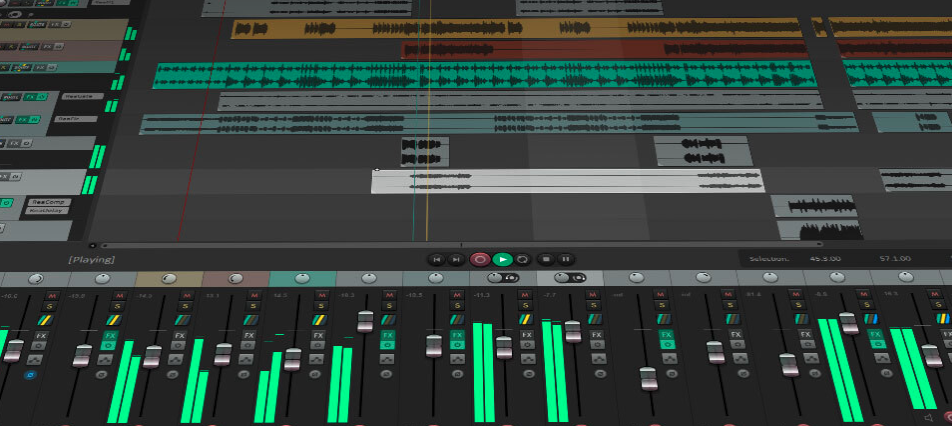
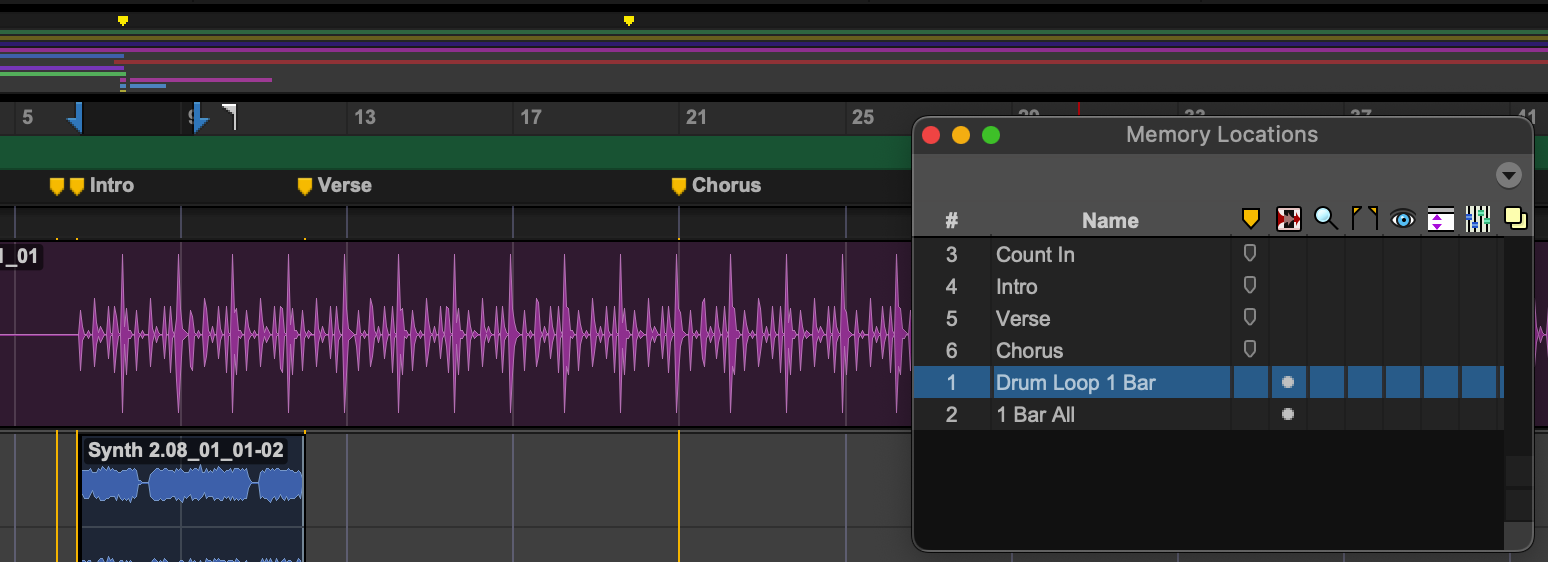
- The Edit Window: This is your timeline, your virtual tape machine. You’ll see tracks arranged horizontally, and this is where you’ll record, arrange, and edit your audio clips (waveforms) and MIDI notes.
- The Mix Window: This looks like a traditional mixing console. Each track has its own vertical channel strip with a fader for volume, a pan knob for stereo placement, and slots for adding effects like EQ and reverb.
Here’s a few more videos to get your navigation moving quickly!
Step 4: Let’s Make Some Noise! Recording Your First Track
This is the moment of truth. We’ll record a simple audio track, like a vocal or an acoustic guitar.
- Create a New Track: Go to the top menu and select Track > New….
- Create 1 Mono Audio Track. (Mono means one channel, perfect for a single microphone).
- Click “Create.” You’ll now see your new track in both the Edit and Mix windows.
- Arm the Track for Recording: This is a simple three-part process.
- Set the Input: On your new track in the Mix or Edit window, find the I/O (Input/Output) section. Click on the input selector (the one on top) and choose the input on your audio interface where your microphone is plugged in (e.g., Input 1).
- Record Enable: Click the small, circular “Record Enable” button on the track. It will start flashing red.
- Check Your Levels: Speak into your mic or play your instrument. You should see the meter on the track light up. Adjust the gain knob on your audio interface (not the fader in Pro Tools!) so the signal is strong and green, occasionally hitting yellow. If it hits red, you’re clipping (distorting), so turn it down!
- Start Recording!
- At the top of the Edit window is the Transport bar. Click the main Record button (it will start flashing red).
- Now, click the Play button right next to it.
- You’ll hear a count-off (if the click track is enabled), and Pro Tools will start recording. Perform your part!
- When you’re done, press the Spacebar or the Stop button.
Congratulations! You should now see a beautiful audio waveform in your track. You’ve officially recorded audio in Pro Tools.
Here’s a few more videos to help you record more fluidly!
Step 5: Bouncing Your Track – Exporting Your Music
“Bouncing” is Pro Tools’ term for exporting your session into a single audio file (like an MP3 or WAV) that you can listen to anywhere.
- Select the Timeline: Using the Selector Tool (the one that looks like an I-beam cursor) in the Edit window, click and drag to highlight the entire length of the song you want to export.
- Open the Bounce Dialog: Go to the top menu and click File > Bounce > Mix….
- Choose Your Settings:
- File Type: Choose MP3 for easy sharing or WAV for full quality.
- Format: Choose Interleaved (this combines the left and right channels into one stereo file).
- Bit Depth / Sample Rate: For an MP3, 320 kbps is high quality. For a WAV, 16-bit / 44.1 kHz is standard CD quality.
- File Name & Directory: Give it a name and choose where to save it.
- Click “Bounce.” Pro Tools will process your track and save it to your chosen location.
Here’s one more videos to get your levels in a better spot before exporting!
You Did It! What’s Next?
You’ve successfully navigated the basics of Pro Tools. You created a session, configured your hardware, recorded audio, and exported a file.
From here, your journey begins. Start by exploring:
- The Smart Tool: A multi-tool that changes function depending on where you place your cursor over a clip. It’s a massive time-saver. https://youtu.be/rb-1V_8woEk
- Basic Editing: Learn how to cut, copy, paste, and create fades on your audio clips. https://youtu.be/_SWA27vnq4I
- Instrument Tracks: Try creating an Instrument Track and loading up one of the free virtual instruments (like Xpand!2) to create MIDI parts. https://youtu.be/Gym5CWnZKD4
- Included Plugins: Experiment with basic EQ and Compression plugins on your tracks in the Mix window. https://youtu.be/vIZW2gtV0Fg
The “scary” industry standard is now your creative playground. Don’t be afraid to experiment, click around, and see what happens. Every pro started exactly where you are now.
Happy recording!!
Join me on my YouTube Channel for more free learning!