So, you want to make music, record a podcast, or design sound for your video project. You’ve heard whispers of a powerful, affordable, and endlessly customizable tool called Reaper. You’ve downloaded it, opened it, and… been greeted by a screen full of buttons, menus, and options.
Don’t panic. Close the program. Take a deep breath.
Every single audio professional was once exactly where you are now: staring at a blank Digital Audio Workstation (DAW) and feeling a mix of excitement and sheer terror. The good news is that Reaper is one of the most welcoming DAWs for beginners, and this guide will walk you through the absolute essentials to get you from “What is this?” to “I just recorded something!”
Step 0: The Pre-Flight Check (What You Need)
Before we even launch Reaper again, let’s make sure your setup is ready. You don’t need a million-dollar studio, just a few key components.
- A Computer: Mac or PC, Reaper runs beautifully on both.
- Reaper: Download the 60-day, fully-functional free trial from reaper.fm. The evaluation period is incredibly generous, giving you plenty of time to learn.
- Headphones: Essential for hearing your audio clearly without it bleeding back into your microphone.
- An Audio Interface: This is the most important piece of hardware. Think of it as a translator between your microphone/instrument and your computer. It provides high-quality inputs for your gear and outputs for your headphones and speakers. Popular beginner brands include Focusrite, PreSonus, and Audient.
- A Microphone or Instrument: Whatever you want to record!
Crucial for Windows Users: Your audio interface will likely ask you to install ASIO drivers. Do it! ASIO is a special audio driver protocol that allows for low-latency performance, which is critical for recording without a noticeable delay.
Step 1: First Launch – Configuring Your Audio
Okay, everything is plugged in. Let’s open Reaper. The very first thing we need to do is tell Reaper how to talk to your new audio interface.
- Go to the top menu and click Options -> Preferences. (Or press Ctrl+P on Windows / Cmd+, on Mac).
- On the left-hand side, under the “Audio” category, click on “Device”.
- This is the control center for your sound.
- On Windows: Set your “Audio System” to ASIO. Then, in the “ASIO Driver” dropdown, select the driver for your audio interface (it will usually have the brand name, like “Focusrite USB ASIO”).
- On Mac: Your “Audio Device” should be set to your audio interface (e.g., “Scarlett 2i2”). Mac’s Core Audio system handles this without needing a separate ASIO step.
- Click “OK”.
If all went well, you’re now set up to record and play back audio. Congratulations, that’s the biggest technical hurdle for most beginners!
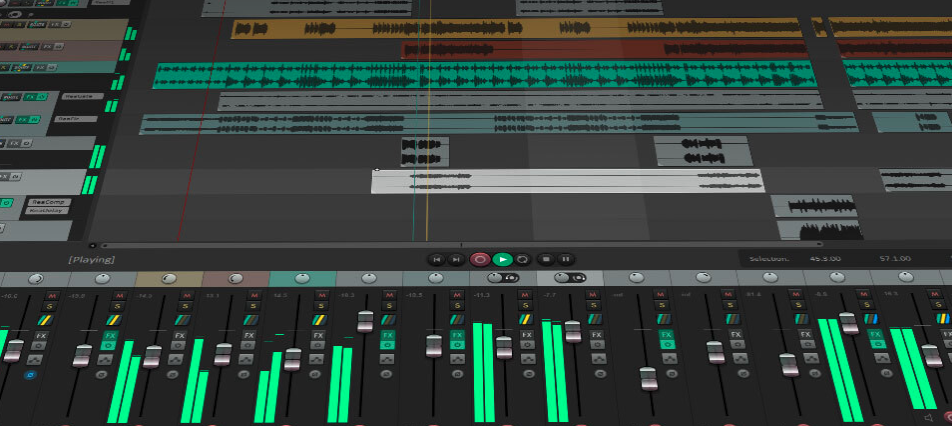
Step 2: A Quick Tour of Your New Studio
Reaper’s main window can be broken down into four key areas. Don’t worry about what every button does; just get familiar with the zones.
(This is a conceptual stand-in image)
- Track Control Panel (TCP) – (Left Side): This is where your tracks will live. Each instrument, microphone, or audio file will get its own track. Here you’ll find the track name, a volume fader, a pan knob, and the all-important Record Arm button.
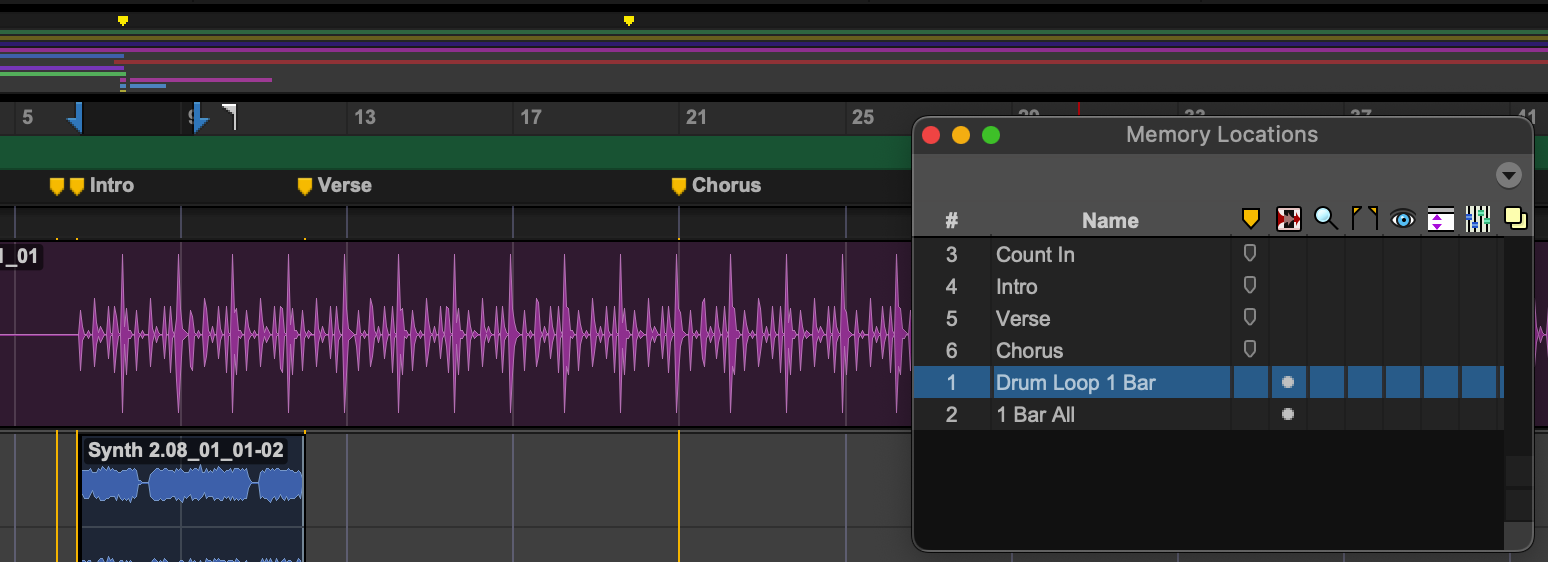
- Arrange Window / Timeline – (Main Area): This is the heart of your project. It’s where you’ll see your audio recordings appear as visual waveforms (called “items” in Reaper). The timeline at the top measures your project in bars, beats, or minutes.
- Transport Bar – (Bottom): This has your playback controls: Play, Stop, Pause, and the main Record button. It also shows you the time, tempo, and time signature of your project.
- Mixer – (Can be docked at the bottom): If you don’t see it, go to View -> Mixer. The Mixer gives you a classic “mixing console” view of all your tracks, with long faders for more precise volume control.
Step 3: Let’s Make Some Noise! Your First Recording
This is the moment of truth. Let’s record your voice.
- Create a Track: Double-click on an empty space in the Track Control Panel (the left-side area). A new track will appear. You can name it “Vocals” by double-clicking its name.
- Arm the Track: On your new track, click the small, circular red button. This is the “Record Arm” button. It tells Reaper, “When I hit the main record button, I want you to record on this track.” You should see the level meter on the track start to bounce as you make noise.
- Select Your Input: Right-click the Record Arm button. A menu will pop up. Go to Input: Mono -> Input 1 (or whichever input your microphone is plugged into on your audio interface).
- Check Your Levels: Speak into your microphone at the volume you plan to record at. Watch the meter on the track. You want it to be mostly in the green and yellow, occasionally tickling the red. If the meter maxes out and the light at the top stays red, you are “clipping” (distorting). Turn down the gain knob on your audio interface until it stops.
- Hit Record! Go to the Transport Bar at the bottom and click the main Record button (the big circle). You’ll see a red waveform—your audio “item”—start to appear in the Arrange Window as you speak.
- Stop and Listen: Click the Stop button. Now, click the red Record Arm button on your track to turn it off (this is important!). Drag the playhead (the vertical line on the timeline) back to the beginning and press Play.
You should now hear your own voice playing back through your headphones. You did it! You’ve successfully recorded audio in a DAW.
What’s Next?
You’ve taken the most important step. From here, the journey is about exploration. Here are a few things to try next:
- Editing: Click on your audio item. Try pressing the S key while the playhead is over the item. This will Split it into two pieces that you can move around independently.
- Adding Effects (FX): Every track has a green “FX” button. Click it to open the FX Browser. Reaper comes with a fantastic suite of built-in plugins called “ReaPlugs.” Try adding ReaEQ to shape the tone of your recording or ReaComp to control its dynamics.
- Keep Learning: The single greatest resource for learning Reaper is Kenny Gioia’s REAPER Mania YouTube channel. His videos are clear, concise, and cover literally everything.
Don’t be afraid to break things. Don’t be afraid to start a new project and just experiment. The path to mastering any DAW is paved with thousands of little clicks and discoveries. Welcome to the club. Now go make something amazing.